Thursday 31 July 2014

Post 161 Bonsai Table construction #1


It’s heading into exhibition season here and in particular 
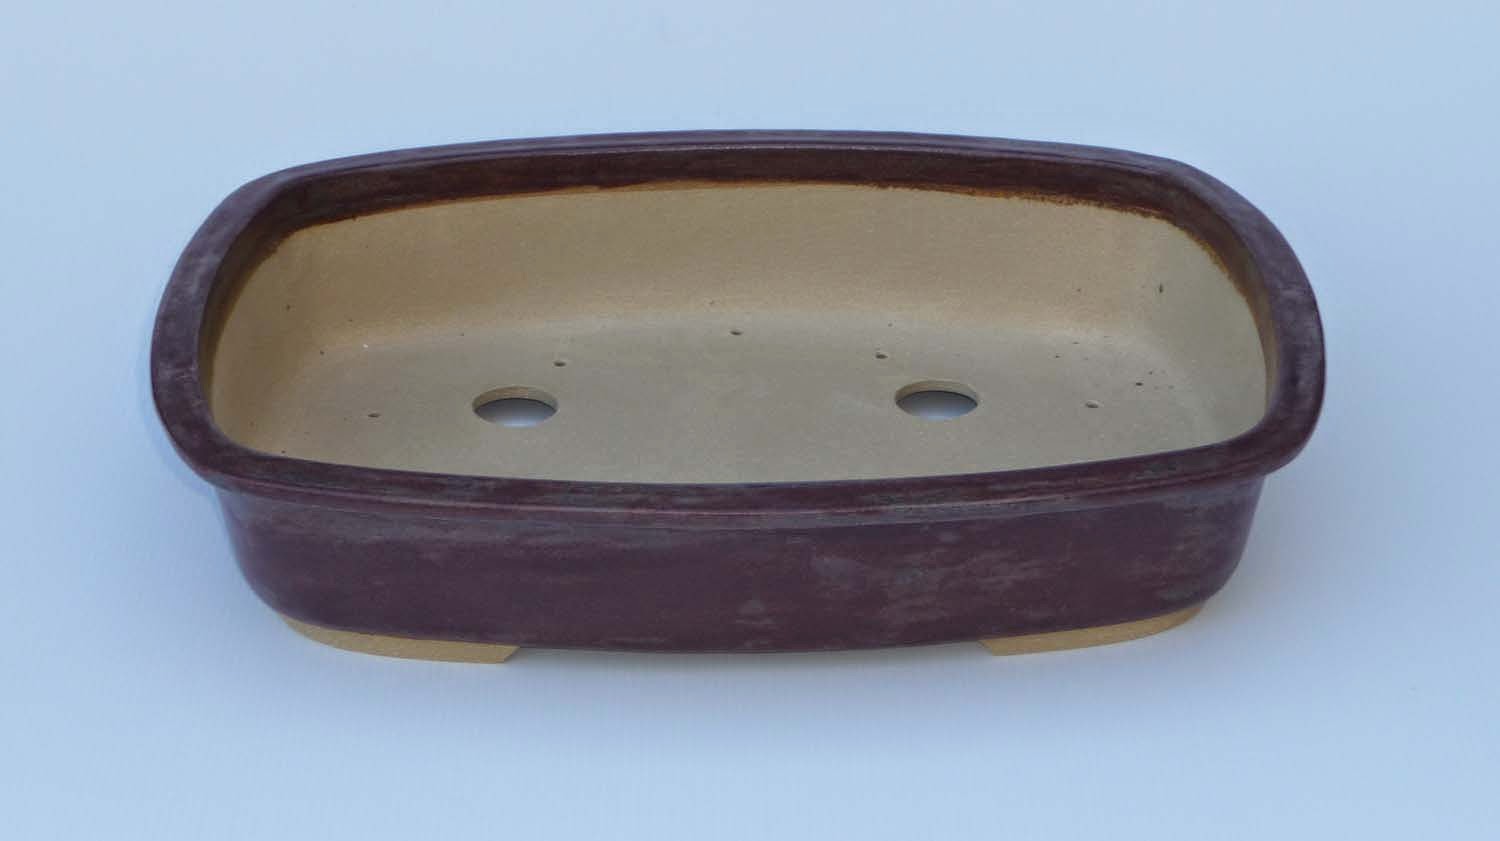
the BCI conference in August. I have a couple of trees (and pots) listed for the exhibition and so need them presented at the right height.
I made three tables back in March for the Redlands NativeBonsai Exhibition but now need another one with a large table top.
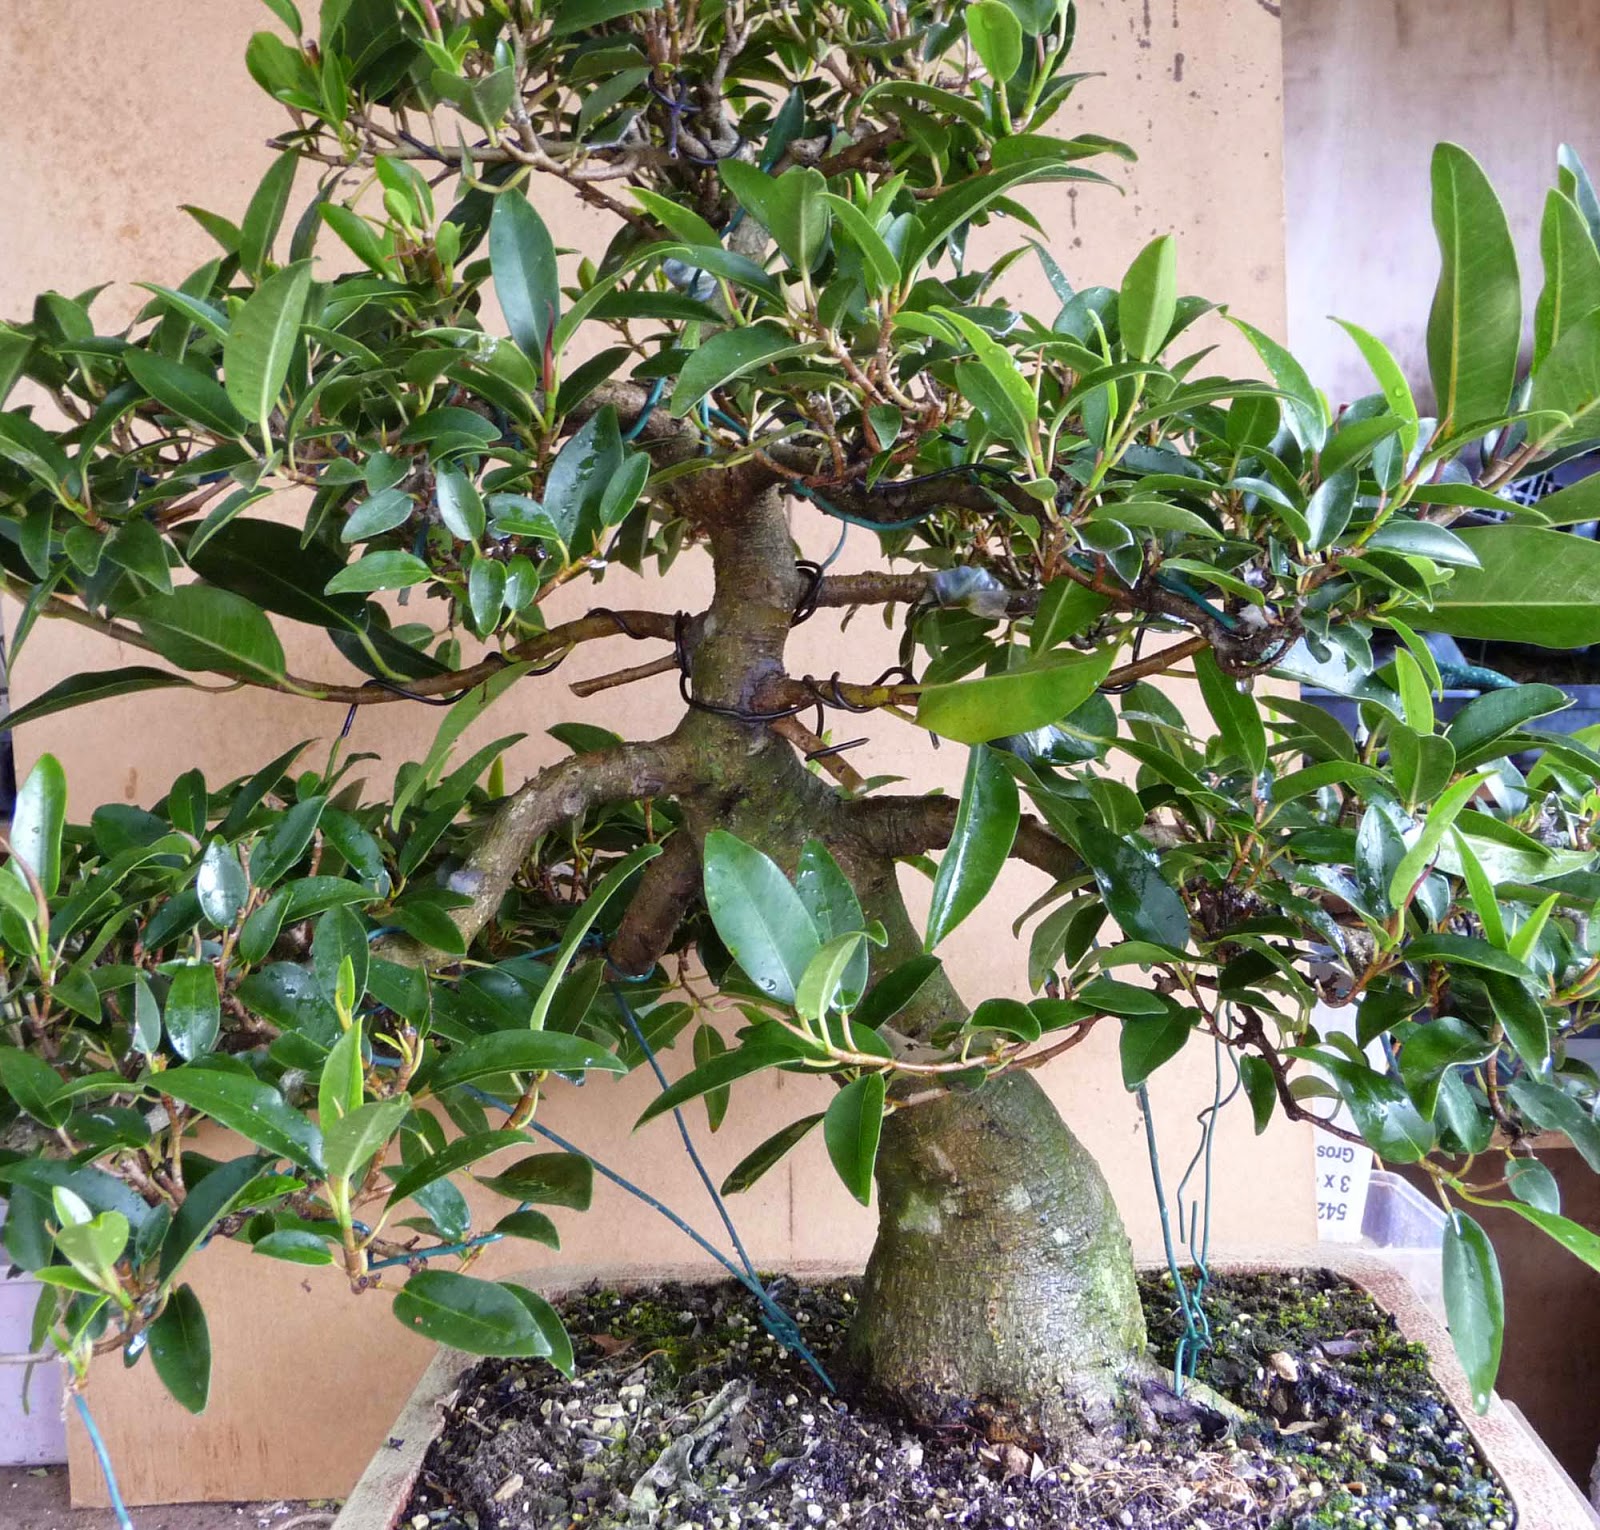
Getting the tree at the right height is critical to the whole look and feel and the conference tables are going to be the standard 750 height so the new table will need to be about 330 high. I posted some research I did on this a while ago on Post 139.
In March I made the tables with pine and while it was relatively low cost and easy, the timber remains fairly soft and easily damaged. I’m actually doing a job on the larger one right now to inlay new table top corners of a harder timber. Just little triangular pieces of timber cut at 45 degrees to give that exposed point a little more durability.

This is the insert prior to painting
So this time I’m biting the bullet and going for a harder timber and having a shot at a more interesting design.

My normal design process is the back of the envelope to start, with the basic shape and dimensions. Here then are the working plans for the project. I like the look of the double miter often used in higher quality tables and thought I should give it a go.


That said the proportions have to be right and I do like to mock up a template or model at full size to eyeball the design and make the adjustments when they are easy to do. A light cardboard sheet is ideal and enables a front and side view. 


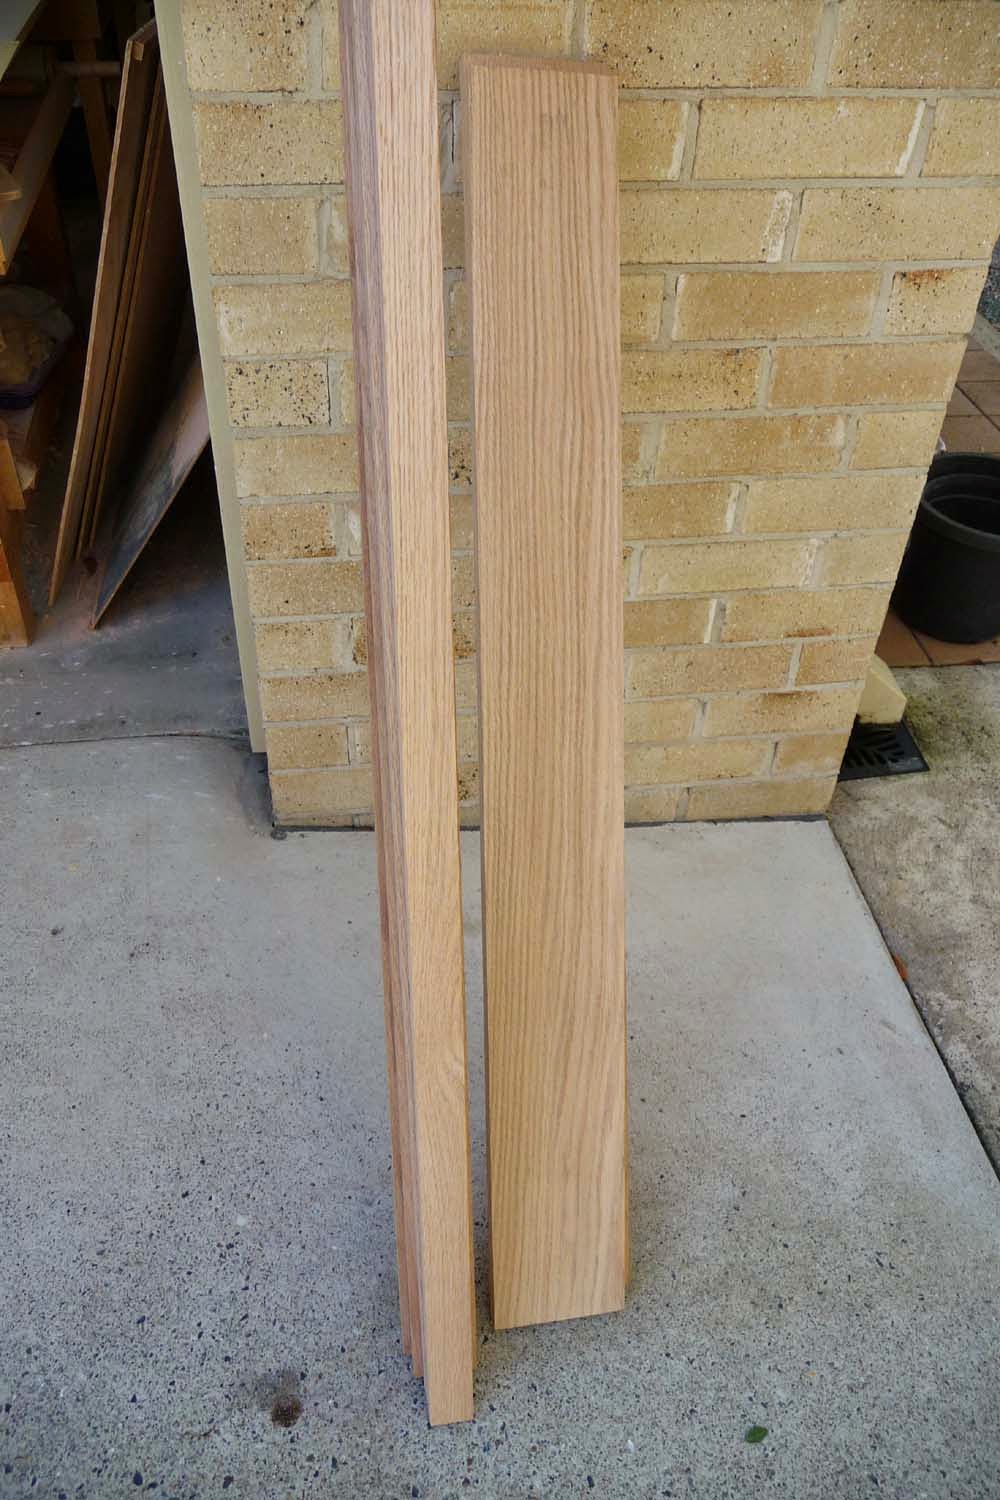
My woodworking equipment is a bit of a limitation and so I try to use commercially available material in standard board sizes. This influences the design a bit too. Flat and straight pieces of timber are essential to reducing the size of the job so I’m very picky at the local hardware shop. I'd love a good table saw but my pottery/woodwork shop would need a second floor.
The timber I’ve chosen this time is American Red Oak, from Masters, nice grain.


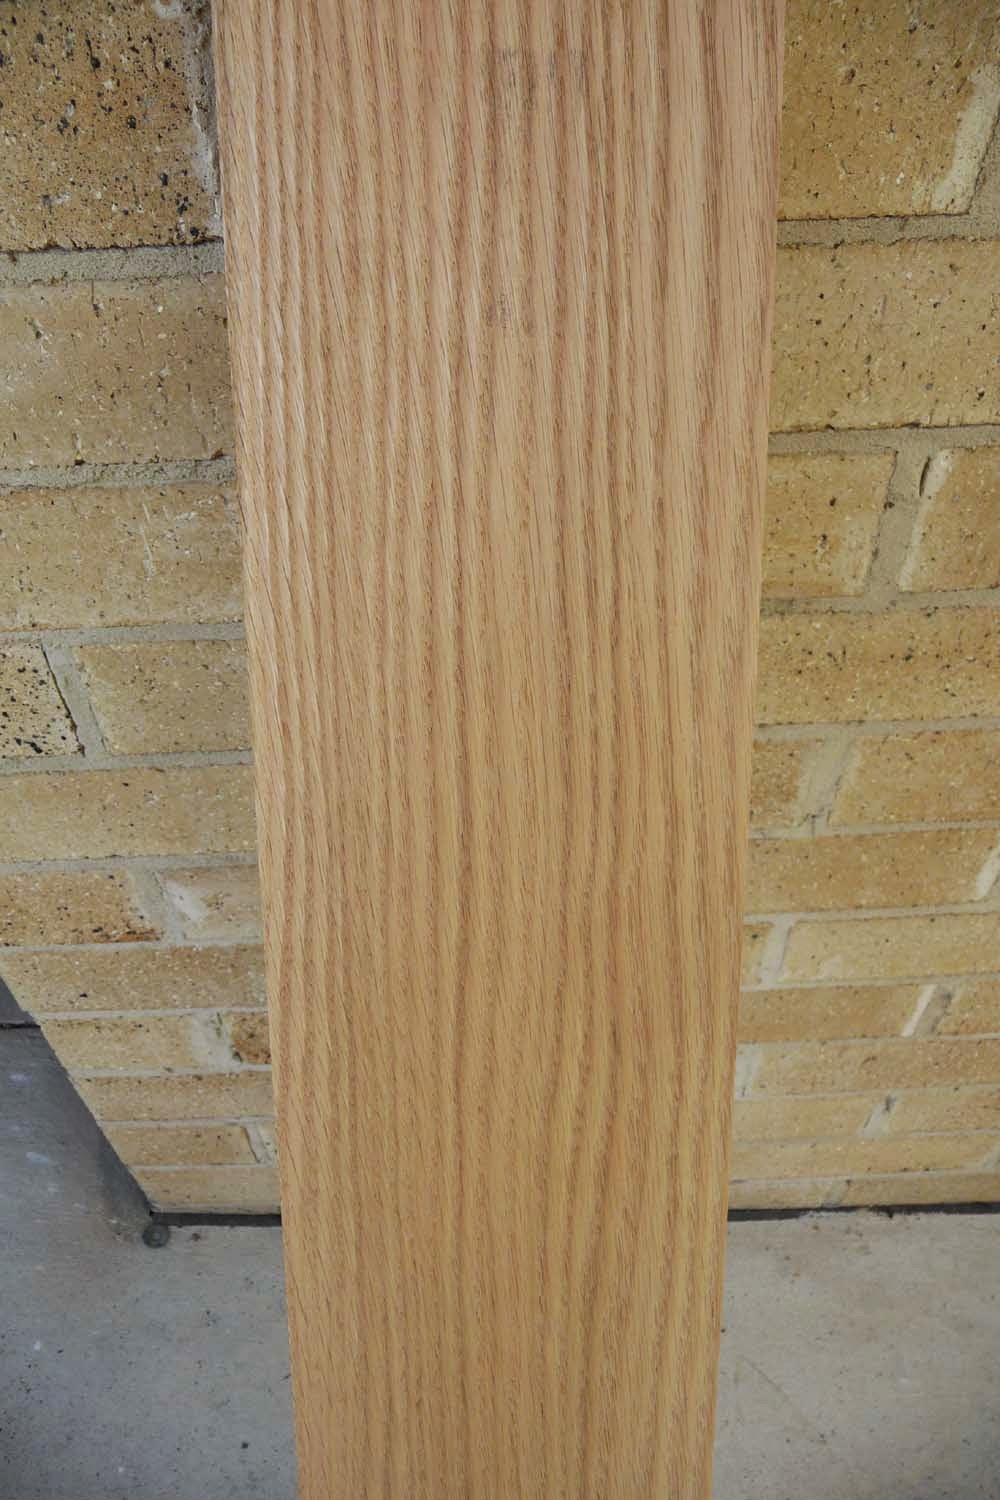
It looks, feels and works like Tasmanian Oak which I’ve worked on before. It is a hard timber which keeps a good edge and has an attractive grain. Tasmanian Oak is of course eucalypt timber (any one of three varieties apparently) as we don’t have oaks. But the Red Oak really is oak.


$120 doesn’t go far buying timber these days and this is what I have to show for it; better make a good job of it.


You can see later build stages here:

Stage #2
Stage #3
Stage #4
Final 


Wednesday 30 July 2014

Post 160 New Pots - another firing

I had a request to make a rectangular pot 'like Pot No 38' which I made in February 2013 . It had a length of about 360mm and was 79mm high.

The requested pot was just a bit longer and a bit higher, but with the same glaze colouring and effect. Well easier said than done when the colouration is principally achieved by the different depth of application of the glaze to give the patinated mottled look. I keep careful records of glaze recipes I use on which pot but as to the detail of how I apply them well that's a different matter.
I'm not keen on making rectangular pots because of the risk of deformation which is less likely and less apparent where the walls have some curvature. The making of a rectangular pot is best accomplished by using slab formed clay which has dried flat to a point of inflexibility and is only moved by board flipping. By doing this the only memory the clay has is of being flat and straight. The drier the clay of course the higher the risk of joint failure and the more care needs to be taken. Also the thickness of the clay on the corners needs to be uniform and consistent with the walls so that there is little differential contraction at the corner to promote bowing. All this takes more time and carries greater risk which is why all makers charge more for rectangular pots than other shapes.

Despite all that I've done pretty well on the colour match. One wall has a little bow but that is one of those wabi-sabi atefacts of a hand made pot and will be invisible to the eye in use.
 
 Pot No 122 Rectangular at 373mm x 281mm x 85mm

 Post 153 in June was about glaze crawling on a large oval pot. The next pot, Pot No 121, is its replacement in a slightly different glaze formulation, still a high gloss dark blue.

 Pot No 121 Oval at 470mm x 342mm x 88mm

 Pot No 121 overview

 Pot No 121 Glaze detail

The next one, Pot No 111 is a nice little oval pot in a pale blue glaze.

  Pot No 111 Oval at 273mm x 205mm x 53mm

I made the next two pots to eventually contain a couple of my ceramic tanuki/sergent trees. Because the ceramic tanukis have fairly substiantial base diameters I wanted pots that have a complementary depth. The first one is one of my compound shapes. The glaze has an antique base overglazed with beige. I though it might be darker but this is a fine match for the colour of the 'deadwood'.
  Pot No 115 Compound at 270mm x 197mm x 79mm

 
 Pot No 115  Overview

 Pot No 114 is a rectangular pot fired with a mottled mid brown glaze.

   Pot No 114 Compound at 245mm x 185mm x 78mm

And the last one for this firing is a Shohin, Pot S38. It is a bowed wall rectangular pot with a rounded flange and lower wall rib. The glaze is the same dual combo as Pot No 115.
Shohin S38 at 176mm x 133mm x 53mm

Wednesday 23 July 2014

Post 159 Reglazing a pot

I glazed Pot 105 back in February using a glaze which was less than successful. It was one of those things that looked interesting on the test tile but didn't live up to the promise on a pot.


As glazed in February

This is what it looked like at the time. That got me looking into reglazing. I've seen discussion and tips about how to do this from time to time but never had to confront the challenges.
A bisqued pot is entirely a different proposition to glaze compared to a glaze fired and vitrified one. The beauty of the bisque is its porosity and capacity to suck the water out of the glaze mix as it is applied, leaving the paste to quickly dry to powder which adheres to the surface.

A glaze fired pot has no absorbancy at all and so applying the glaze slurry is an entirely different proposition. Various surface treatments are sometimes mentioned to provide a way for the glaze to attach to the surface. Abrading the surface sounded like far too much work and the alternative of hair spray or the like was not the next best option for me.
The idea that sounded workable was to preheat the pot; the suggested mechanism being that the heat would evaporate the water in the glaze mix to simulate the absorbancy of the bisque.


After reglazing with a red/brown glaze, two coats.

The pot is a bowed wall rectangular pot. This shape is far more reliable in firing than a straight walled rectangular pot, coping better with the movement during vitrification, with less evident distortion. In use it is a very attractive shape too, not as soft as the oval and not as rigid as the rectangular, a useful middle ground.


So that's what I did; heated the pot in the kitchen oven to about 70c to 80c and then painted on the glaze. I went over the pot with two coats of a red brown glaze and reheated again before the second coat. Once done the glaze did not look at all fragile on the surface and none of it dislodged with movement, which I was concerned it might.
I'm much happier with the result this time around and now have a technique in my toolbox to use for the next glaze departure from plan.

Tuesday 22 July 2014

Post 158 Ficus hairpin insertion graft update #2

In March I posted an update to my Hairpin Insertion graft on the Queensland Small Leafed Fig.
Since that time they've grown on nicely and I have just separated the scion host plant from the second graft.


In the above picture you can see both grafted branches. The swelling at the branch/trunk union is typical of any branch and the 'seam' at the join will dissipate over time. The 'inward' stubs have been left in place for the moment. I'm interested to see what happens with them.


Panning out a little you get a better view of their positioning.


And then at this range you can see the spaces in the tree structure that the branches are designed to fill.

The whole process would have been and could be much shorter if I'd drilled further into the trunk at the start. Around February the hairpins worked their way out as they put on weight so I redrilled deeper, reinserted and used a small 'keeper' in the elbow of the joint to allow the wire to hold it in position. Since that time it has progressed very quickly. The hole depth needs to be 3 or 4 times the width of the hairpin bend. The calus formed by the wound guarantees a good joint.
I'm very happy to see that the new branches are filling out in diameter and it is great to have them in the right conformation on the trunk. The tree is still growing despite our winter conditions. As the weather warms I'll prune the new branches to promote branching and then select a secondry on each to extend and fill out the girth again.

This graft technique was inspired out of dis-satisfaction with thread grafting and approach grafting for branch development. It has proven to be a simple, effective and quite foolproof process delivering a great result; a branch that looks like its always been there.


 Note from March 2014:
Update posts from this work can be seen at:
Post 198

Thursday 17 July 2014

Post 157 Winter and the dark side of the moon.

I was away at the time but I'm told that winter started here around the end of July when the daily max dropped under 20 and everyone rushed to close the windows and put on something warm. Since then it's got really cold, seriously it has. Just last weekend it was 4C in the morning, that's about the coldest I can remember. And there was frost in the low lying areas. How does that work frost at 4C.

Well yes I looked it up and apparently it's all about radiant heat dissipation and the universe's pursuit of equilibrium. Sounds profound but like so much it's just magical science and nothing supernatural. On a clear night the relatively warm ground radiates it energy in an effort to reach equilibrium with the close to absolute zero temperature (-273C) of deep space. The air in between isn't much of a barrier and so even with small above zero air temperature the ground can go sub zero causing moisture condensation and freezing.

This would suggest that the ground temperature falls below the air temperature all year and perhaps that is true too. Even at warmer times of the year I've noticed a similar thing happens with dew forming on the grass at dusk and on the metal roof of my house. At dusk as the day cools and the sky darkens the relative humidity of the air can reach saturation. At the same time the radiant heat transfer of the metal roof chills it to below the ambient air temperature and so condensation forms. But interestingly it forms in patterns and those patterns correspond to the areas where the insulation is in direct contact with the sheeting. Where the sheets are secured to the roof structural battens and so exposed to more warm thermal mass the condensation doesn't form.

Energy production comes out of temperature differentials but I guess something like 4 or 5 degrees C might be just too little to be useful. Still it could probably drive an IPO.
 
The thing I don't understand is why this dusk ground condensation does not form on the ground where there is a roof or covering structure but otherwise open to the air. It's like there is a perpendicular line from the edge of any overhang and the dew does not form on the overhang side of the line. But then you don't have to understand it to use it. I'm trying to maintain the condition of a couple of my evergreen trees at the moment for a show and in the absence of a heated plant house all I can do is put a cover over them at night and save them from a couple of degrees of cool.
For a sub-tropical/temperate area we can get a lot of rain in the year but it usually falls in summer storms and our winters are dry. Warm dry winters make for parched dry landscapes and that's our lot at the moment. The gardeners amongst us are working hard to keep plants alive.

The one thing the chill has been good for is the colour of some of our deciduous bonsai. I have a couple of what I think are malus trees, one a cutting from the other. It is remiss of me but I have no record of the exact species/variety. I've not seen flowers or fruit on them, perhaps they need more chill for that than we can offer. They certainly develop some mean thorns but right now they have coloured up to a beautiful claret colour and the longer the cool goes on the leaves go to a pink red.


Meanwhile the Celtis turn a beautiful clear lemon yellow. The next picture is from one of my yamadori stumps.


I've let them grow this year and so they look pretty untidy but the colour is great and if I can ever tame them they will make a great show.

And just to finish up with the dark side of the moon. It shows just how powerful radiant transfer to the wider universe can be. While the side facing the sun can run to 120C without any atmospheric insulation, the dark side can drop to minus 150C. Dusk must be a pretty interesting time on the moon. No complaints from me about frost at 4 degrees!

Wednesday 9 July 2014

Post 156 Gardenia grafts

Some time last year we were doing a bit of a garden makeover and removed some 10 year old gardenias. I can't recall the variety but it was one with quite large leaves. They had formed quite nice little stumps with multiple trunks/branches. I pulled them out of the ground and put them in poly boxes to see if they would live. After all that time in the ground there were virtually no fine roots recovered and I wasn't hopeful. It took many months before there was any sign of life but 6 out of 7 have returned to the land of the living.
In the mean time I turned my mind to what to do with them if and when they recovered. The best thought was to graft on Gardenia radicans, the small leafed prostrate species. But would it work?
I have a few radicans growing in the garden and they readily air layer as the cover the ground, so pulling up a couple for a trial was no problem. The smallest of the removed gardenias wasn't much more than a stick and it came to life pretty quickly so it was going to be the test bed for the graft.

The graft was just a simple approach graft, from the potted radicans layer.


 The graft has taken quite successfully and I've taken off the grafting tape and separated the donor plant. I've applied a cable tie as the joint is still weak. The tie will be removed once vigorous growth is re-established in the spring.

 Here's a close-up view. I could have done a deeper graft but thought a simple surface contact would be adequate for the test. On the larger stumps I will certainly imbed the scions into the host material.

 Here's another one that I did a bit later and haven't yet separated.

 These are two of the bigger stumps.

And the last two. I've got a few radicans in pots with extended stems so am ready for the spring to work on these when they are ready. I'd like to develop primary branches on the stumps before doing the grafts as this will give me the basic structure more quickly.